As promised I'm back with some updates to the character "Dandelion" which I introduced you to about a week ago. A lot of work has gone into the character since the initial images I showed you. After I got my basic sheep shape modeled in Blender, I began experimenting with some of the various material shaders and textures needed to really make Dandelion come alive. I jumped straight into creating the wool, because a sheep without convincing wool just isn't a sheep. I found some of my basic settings online.
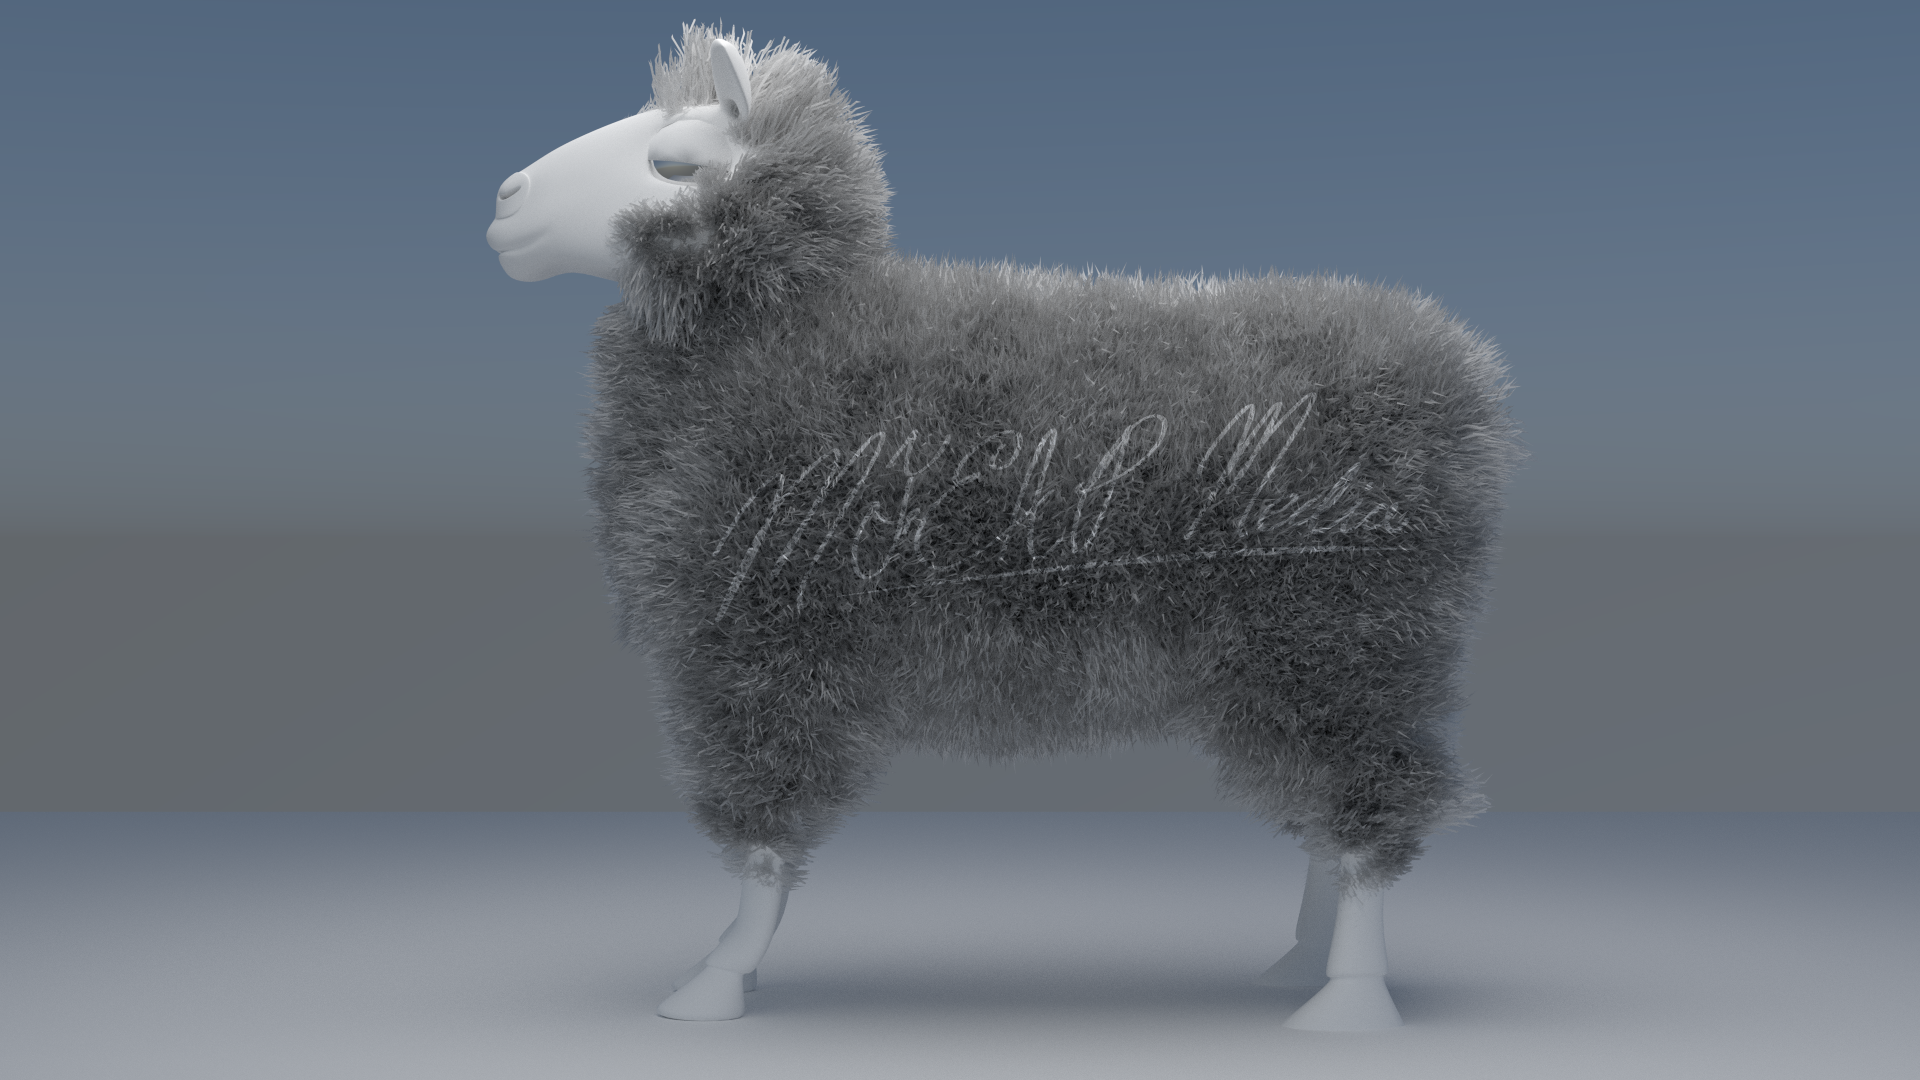
Blender's hair render capabilities have been improving quickly over the past few years, but they are still extremely taxing on the hardware of most computers. Even my hand built, video editing monstrosity from 2012 is starting to show its age. The final image in this post took about an hour to render. So to keep things simple while I experimented with all the various settings need to achieve the look I was after, I used a simple model provided with Blender, "Suzanne".
Once I had a feel for the look I wanted it was time to tell Blender were I wanted the wool to go. I love using Blender's Weight Paint feature to control particle systems like hair, or in this case wool. You simply paint on the areas which you want to be covered in wool. Red equals a 100% probablity of the wool being present and blue equals 0%. In this case I used the same painted image to dictate the length of the wool. So as the color cools off towards blue, the wool becomes both shorter and more sparse.
Now that I had defined how much wool to use and where to put it, it was time to have some fun testing it out.
I know I promised to talk about the eyes and hooves in this post, but its late. So I'll leave you with this, my most recent render...still a lot tweaking to be done, but its starting to look like what I imagined it would.


